As we drove into Lima at the end of the 10.000 km 29-day Rally of the Incas I said to Ken ‘what about P 2 P in 2019?’ ‘Yes’ came his reply in a nanosecond!
The P 2 P (Peking to Paris) is the most challenging endurance classic car rally in the world. Held every three years it’s very difficult to get an acceptance for one of the 120 places available. Our Inca Rally performance helped but more of that later.
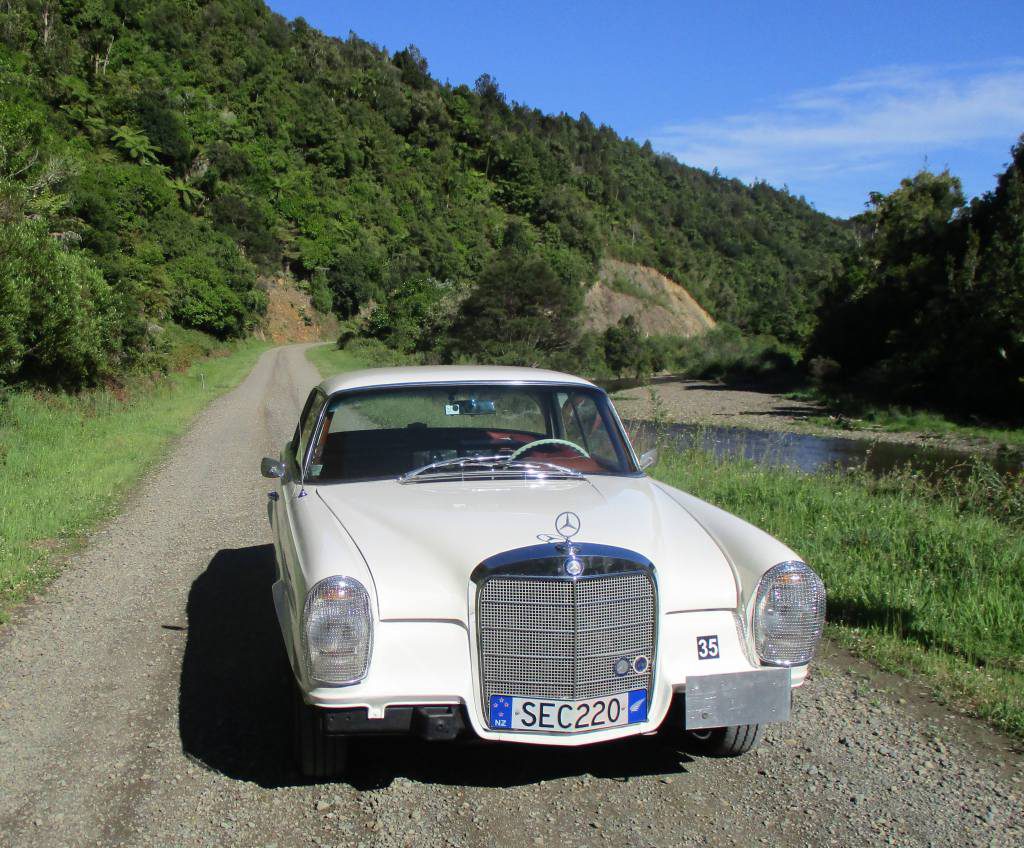
We took my 1964 220 SECb coupe to South America. It performed very well just like a bullet proof Mercedes-Benz should. Having said that, what we learned about the car and what a P 2 P car has to withstand means that the 1964 220 SECb we take to Peking is a much modified and refined car. Albeit still strictly within the rally rules for the event.
The car that arrived back in New Zealand from South America in mid-2017 was banged, battered and bruised. But we made it to Lima when many did not. The Mercedes-Benz W111 coupe has the structure and strength needed to do a P 2 P. The car went into storage until our entry had been approved. Then we had many and long discussions on what would be needed to make our car perform and last the journey. Always remembering the first objective is to drive into the Place Vendôme in Paris on the 7th July 2019.
The first priority is reliability and simplicity, then comfort (39 long days for the old boy’s bums). Then performance in the sand of the Gobi Desert and the mud in Siberia on the track, and the ability to make up time when needed. The drastic decision was made to change the motor, gear box, the differential, fuel tank and front suspension. The 220 SEC coupe was sent out to get the bruises taken out and re painted; a new windscreen was fitted at this time as we now had a large crack from South America. Ken went looking and found a 1968 250 S manual sacrifice car that had been re-engined with a 280 type M130 fitted. We disassembled the car and took all the bits we needed.
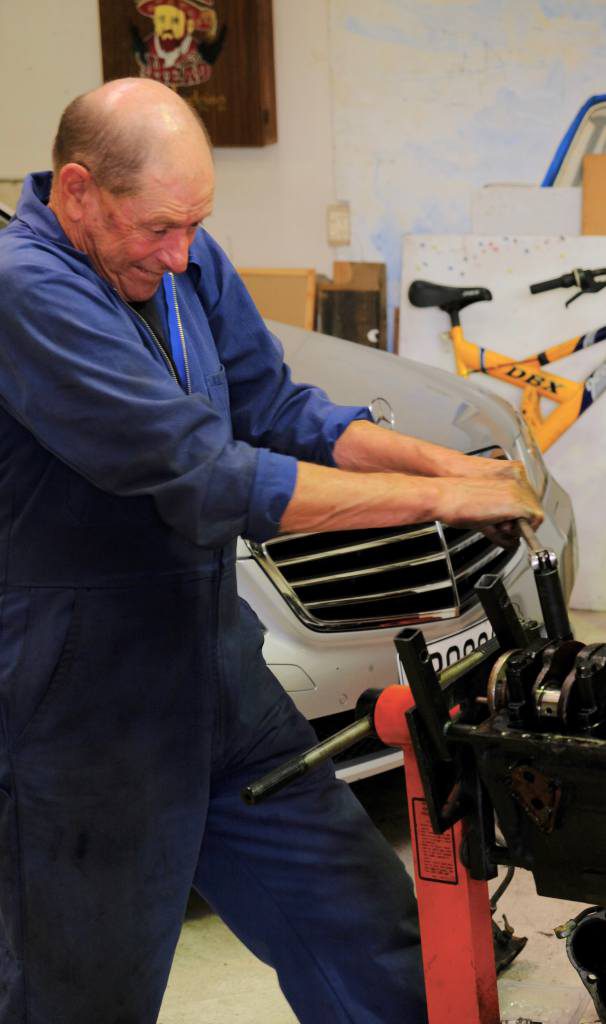
The Engine
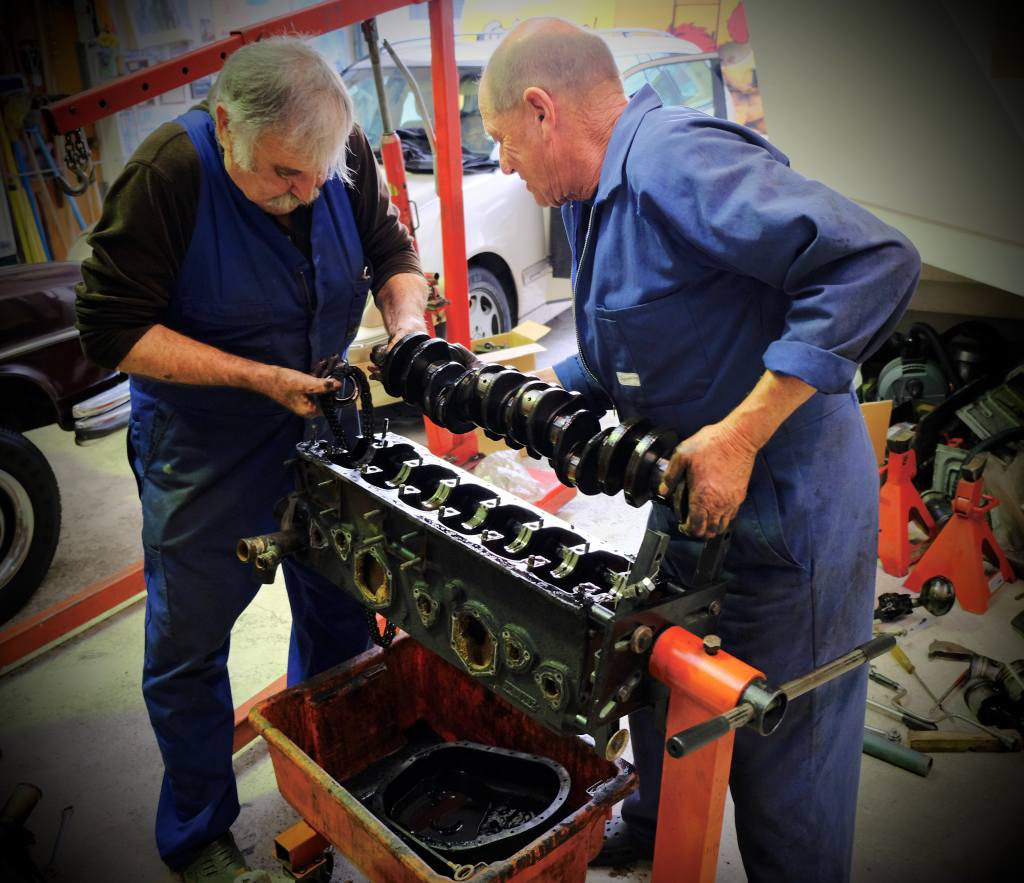 The 280 S M130 was running and had good oil pressure when cold. We stripped the engine down, rebuilt the head with new valve guides and skimmed the head for flatness. The bores were worn so the block was bored to plus .5 of a mm and new piston rings and gudgeon pin bushes fitted. At the time the crank shaft looked ok so just new standard bearing shells were fitted, a new timing chain and a complete set of gaskets and seals.
The twin down draft solex carburettors were sent to a specialist completely stripped, blast cleaned and rebuilt with eye wateringly expensive rebuild kits. The alternator and starter motor were sent out and overhauled. I found a set of left-hand drive car exhaust manifolds from Germany which we modified and assembled to our carburetted inlet manifold. This is not an easy process so we had to reface the assembled manifolds to get a perfect fit to the head. A later model air cleaner was fitted and modified to get the air intake up as high as possible for river crossings. Much of the engine bay wiring was terminated and sealed. The carburetted motor is simple compared to the original injected motor with its multiple solenoids and cold start controls, also the wiring that controlled the auto gearbox that was removed.
After starting the motor and driving a few kms we were not happy with a vibration that came in at about 3500 rpm. It would have been ok if the car was just being used here in NZ for club events but was not acceptable for the hard work we will be expecting from this engine. So, after some research we concluded that when the 250 engine was replaced with the 280 engine in our sacrifice car the 280 had been from a car with auto transmission, so the flywheel from the 250 had been used. The issue was that the 250 is a 4-bearing crank shaft and the 280 engine is a 7-bearing shaft motor. The engine was taken out stripped and we had the shaft, front damper and flywheel balanced as one part. Twenty eight grams taken out of the flywheel. All reassembled and back in the car, vibration fixed.
During the shake down drive through the famous Motu Gorge Rally road and back, we started to notice an annoying knocking sound at idle 800 rpm when the oil was hot and the pressure down to about 20 psi. We looked for all the alternatives. But in the end, out came the engine again. We are getting good at it now, 2 ½ hours from start to having the crank shaft out and on the floor. Plastigauge test showed we should have ground the shaft in the first instance. So first grind shells were purchased, measured and the shaft ground to size. All reassembled and back in the car – oh how sweet it is now!
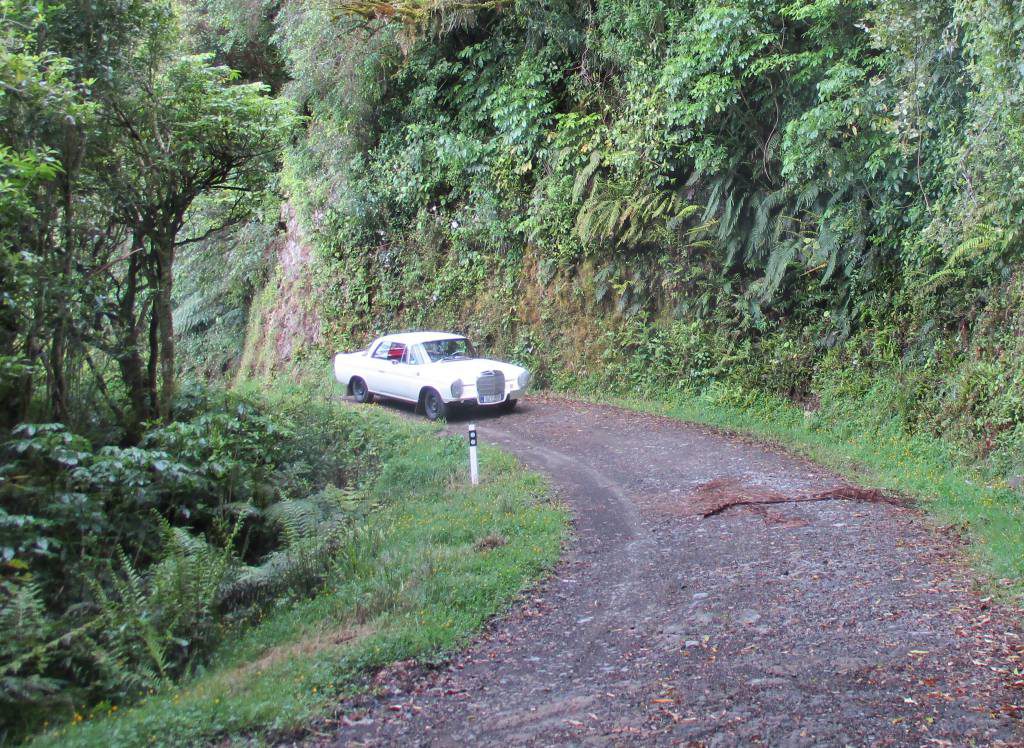
Motu Rally road shakedown
The Gearbox
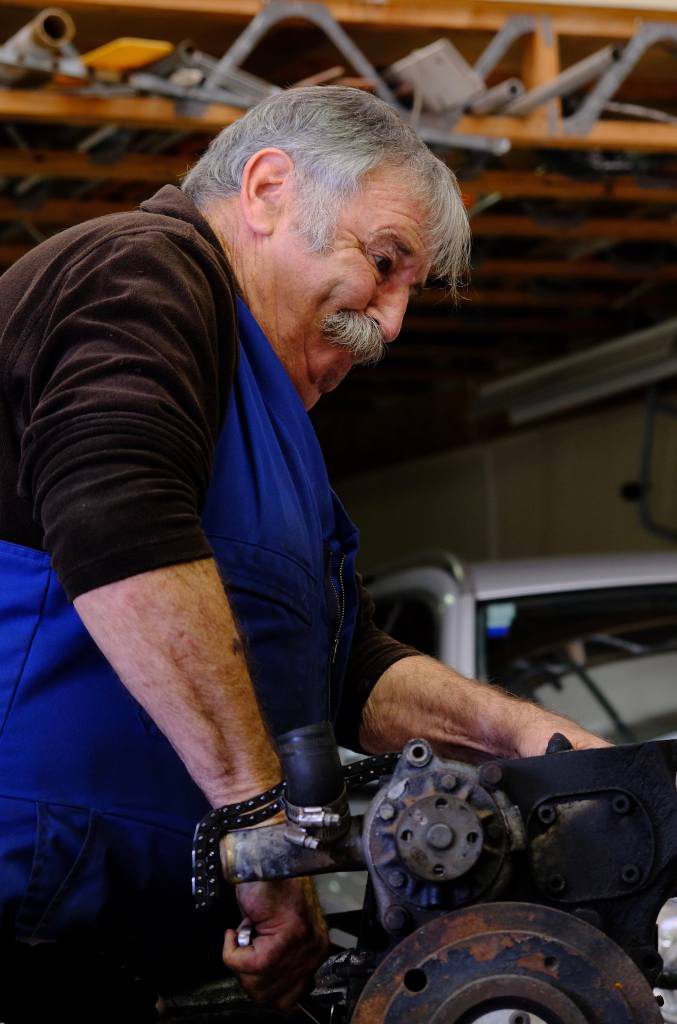 A new clutch plate was ordered and the pressure plate resurfaced and balanced. A new thrust bearing was fitted. The four-speed manual gearbox was cleaned and flushed out, new front and rear oil seals fitted and a top cover suitable for a floor change gear lever installed. Changing from an auto gearbox to a manual gearbox sounds simple but no. First we had to find a W111 chassis manual peddle box – i.e. both clutch and brake pedals. Ken found one in a car at Mercworx in Tirau. I cleaned it up and repainted it, and also rebuilt both the clutch master and slave cylinders. Ken then took on the task of removing the old brake pedal box and fitting the new clutch-brake pedal box. One of the most difficult and frustrating of jobs, on your back with your head up under the dash, arms and hands twisted into the most agonising shapes.
Then came the floor mounted gear change mechanism. After much searching and asking around we found all the parts needed in a car being parted out in Oxford. To mount this we had to cut a slotted hole about 70 x 400 mm out of the tunnel area between the seats to mount all the parts for the gear lever and its connecting rods to the gearbox. The manual gearbox is 80mm shorter than the auto box we removed so the tail shaft had to be lengthened by 80 mm and rebalanced. We also replaced the shaft hanger bearing rubber donut.
The Differential
We only just made it to Lima in Peru with real bad noises coming from the differential. So we took the 250S diff and replaced all the seals, rubber boots and bushes, replaced the brake discs and rebuilt the brake callipers. Unfortunately, when we got to motorway speeds it was unacceptably noisy. We were subsequently offered a 280S 3.69 ratio limited slip differential. All the new seals, boots and bushes from the 250 diff were fitted to this new differential, refitted to the car and all is good. The limited slip feature is allowed under the rules and will be fantastic in the Gobi Desert sand and the mud in Siberia.
 The new disc brakes at the back of the car were too strong and we had to fit a brake pressure reducing valve to even the braking forces out so we can keep the car in a straight line under hard braking.
Suspension
For the W111 chassis you could order special third world country springs. We fitted a set to the rear of the car prior to doing the Rally of the Incas. This lifted the back of the car by 50 mm. So we found a set of third world country front springs. With the old springs out we were able to check all the front suspension joints without spring load and all was good. We also took the opportunity to thoroughly lubricate the joints at this time.
The Belly Pan
The belly pan we fitted to the car for the Incas Rally did a great job, witnessed by the marks and gouges you can clearly see when you have it off the car and upside down on the floor. We had to modify the rear mounting for the pan as this was now where the cross mount for the shorter manual gear box is located. Also, we took the opportunity to cut nine 40 mm holes in the front of the pan to increase the amount of cool air movement around the sump pan to help cool the engine oil.
The Fuel Tank
The 220 coupe came with a 55 litre tank mounted under the boot floor right at the back of the car. It’s very exposed to damage, so we made a fiberglass shield for South America. It worked well, you could see from the marks how it had protected the tank. This tank was too small for South America and we had one instance where we just got out of jail and made it to a time control by two minutes. So after much debate and many options we settled for a 95 litre tank from a 1988 560 SEC coupe. We were able to squeeze the tank with modifications into the front of the boot behind the rear seat area.
The old filler was cut off and seal welded. A new filler was positioned and welded in so that the filler cap is just under the boot lid. We made steel straps to hold the tank securely in and down to the boot floor. The new tank has bottom outlet and bleed back inlet connections so we cut a hole in the boot floor and sealed it against the tank with a thick rubber ring. Miniature ball valves are fitted to the tank so it can be isolated in the event we have to take the tank out to get to the rear shock absorber mountings
The tank also has the advantage that the fuel level sender has the same full to empty signal impedance as the original fuel gauge including the low level light. It also has a controlled tank vent system. Full tank now tested to give us 700 km range, many more than needed under the rally regulations.
Instruments
The 220 coupe came with a mechanically driven rev counter. The 280 S engine has no rev counter drive; from 1968 on the W111 coupe had an electronic rev counter. I found one on EBay out of a parts yard in California. A small amount or wiring and we have a rev counter that looks like it has been there for ever.
Manual and auto gearboxes have different speedo cable connections; we also use the speedo cable to spin the pulse signal sender for the rally trip-meter. After much head scratching the solution was to use the manual box inner cable and the outer case from the gearbox to the point where the sender fitting is mounted and then the original outer to the speedometer. Very fiddly but it works.
The ashtray has been modified to take two cigarette lighter power outlets that will be used for both the map GPS and the more specialist waypoint GPS. A spot tracer has been installed as required by the rally regulations; you will be able to follow us at any time during the 39 days of the rally. More info on how to do this later.
Weight
As with all motorsport, weight is your enemy. We took the front and rear bumpers off and the substantial chrome moulding that runs from the front to the back wheel arch along under the doors; all this came to 75 kg. I made small lightweight mouldings to fit under the doors so that the door seal works at keeping out the dust and water. After discussions with people who had done a P 2 P and looking at videos, the consensus of opinion was that we need to have a front bumper – I did hit a pig in Chile. Both alloy and steel pipe designs were looked at but rejected as there was minimal weight saving so the bottom half of the original bumpers were straightened out and refitted. Approx. 50 kg of weight saved overall. This saving has been used up by the bigger fuel tank and the extra gear we have to carry for the camping nights in the desert.
Tyres
For the Incas Rally we used GT Radial 8-ply side wall commercial van/small truck tyres. As an all-round tyre they worked great in all conditions. Ken could not believe the amount of grip on the tracks. They were also good in the rough and mud. The six tyres still had good tread but as we tested the car they now had no grip. The conclusion is that these are commercial truck tyres that are now four years old and that the compound had gone hard. A deal with our tyre guy and six new identical new tyres on the car, grip is back.
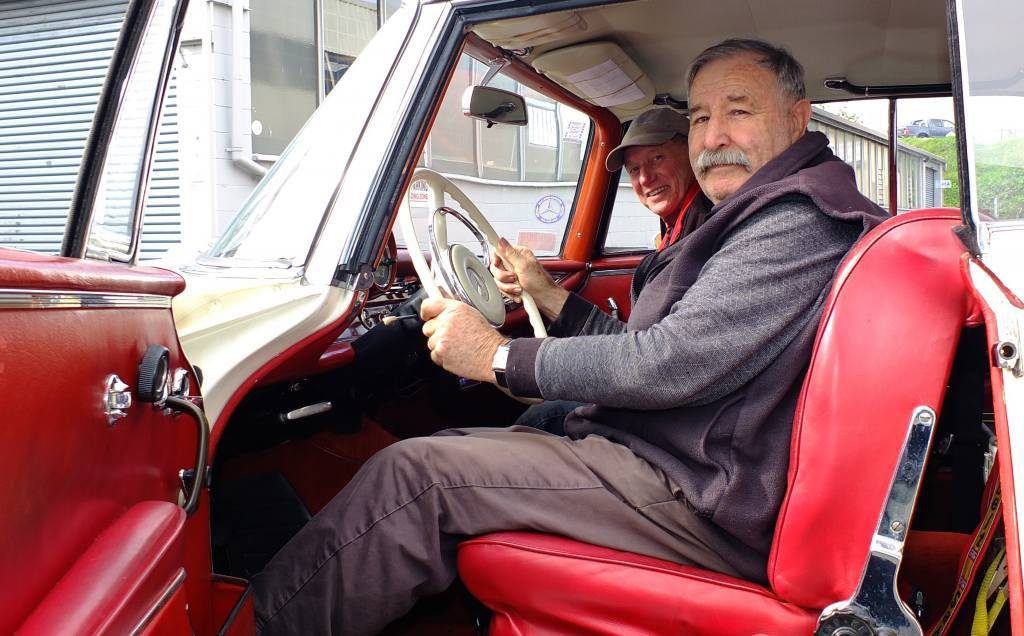 For Ken and I this whole adventure started nine months ago. We have had great fun and pleasure in preparing the car for this gruelling event. Most of the other competitors will have had their cars professionally prepared by rally car specialist shops. When we present the car for scrutineering in Beijing we will have the satisfaction of being able to say we prepared this car ourselves. This will be double satisfaction as we have our first glass of champagne in the Place Vendôme in Paris.
Garry Boyce & Ken Williams
The 7th Peking to Paris
2 June – 7 July 2019
The Peking to Paris Motor Challenge is unique in the motoring world – a true endurance motor rally following in the wheel-tracks of the original pioneers of 1907. Driving an old car nearly half way around the world with a bunch of like-minded enthusiasts, against the clock, with the added spice of timed sections, makes Peking to Paris the longest and toughest driving challenge for Vintage and Classic cars.